


How to Route Local Ollama Models from a Mac Mini M4 to OpenClaw on a Remote VPS
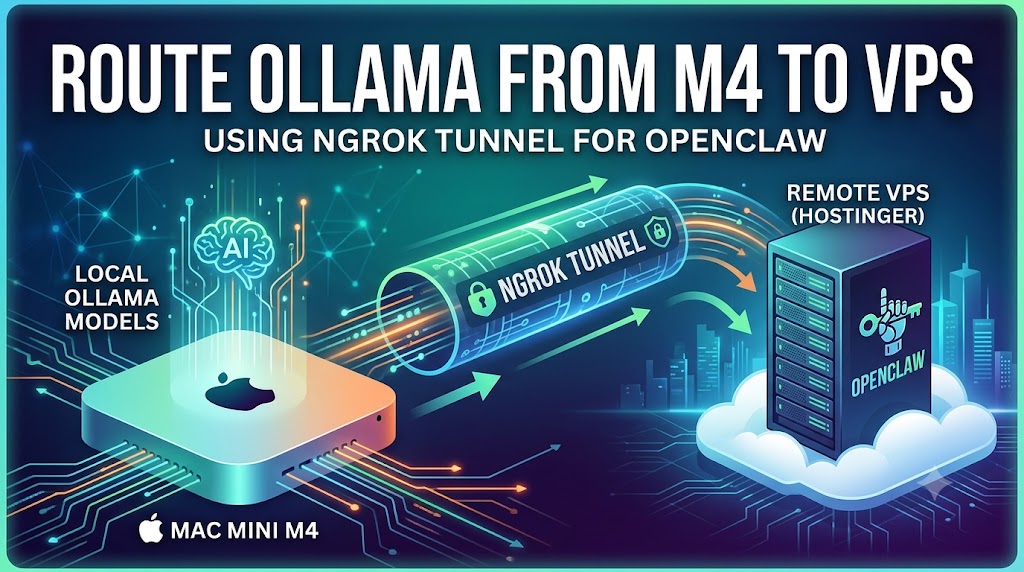
Running OpenClaw on a remote VPS (like Hostinger) is ideal for bypassing regional blocks on communication channels like Telegram or WhatsApp. However, relying on paid cloud LLM APIs can quickly become expensive.
By utilizing an Apple Mac Mini M4 (16GB) at home, you can serve powerful open-source models locally via Ollama and safely expose them to your remote OpenClaw instance using a secure tunnel.
Step 1: Expose Your Local Ollama Engine
Because your Hostinger VPS lives on a different network, it cannot see localhost:11434 on your Mac Mini. Use ngrok to create a secure, public tunnel directly to your local Ollama port.
On your Mac, fire up the tunnel:
ngrok http 11434
Keep this terminal running. It will provide a unique forwarding URL pointing straight to your machine:
https://detoxify-irritate-opposing.ngrok-free.dev -> http://localhost:11434
Step 2: Configure OpenClaw on the VPS
Run the OpenClaw interactive wizard on your remote VPS CLI. Follow this sequence to link it to your local hardware.
1. Configuration Reset & Mode Selection
If an existing installation is found, clear it to start fresh with local routing.
◇  Config handling
│  Reset
│
◇  Reset scope
│  Config only
When prompted for the execution context, select Local only to tell OpenClaw to bypass default cloud API routing completely.
◆  Ollama mode
│  ○ Cloud + Local
│  ○ Cloud only
│  ● Local only
2. Set the Remote Base URL
Instead of keeping the default loopback address ([http://127.0.0.1:11434](http://127.0.0.1:11434)), replace it with your public ngrok tunnel URL. This routes the VPS requests through the tunnel straight to your Mac Mini M4.
◆  Ollama base URL
│  https://detoxify-irritate-opposing.ngrok-free.dev
3. Bind the Target Model
Select the default option matching your locally downloaded model profile. OpenClaw automatically maps ollama/gemma4 to your local gemma4:latest image.
◆  Default model
│  ● Keep current (default: ollama/gemma4)
│  ○ Enter model manually
Note: You can quickly add or modify alternative local weights (like
deepseek-r1:14b) down the line inside~/.openclaw/openclaw.json.
Step 3: Web Capabilities & Skill Verification
1. Enable Native Web Search
To give your local backend search execution powers without managing paid third-party search indexes, opt for the built-in, key-free fallback.
◆  Search provider
│  ● DuckDuckGo Search (experimental)
2. Manage Plugin Dependencies
To ensure the target models connect and communicate cleanly without build clutter, skip additional skill dependencies during initial validation.
◆  Configure skills now? (recommended)
│  ● Yes
│
◆  Install missing skill dependencies
│  ● Skip for now
Step 4: Verification
To launch the system and verify the end-to-end communication pipeline between Hostinger and your Mac Mini M4, pick the instant verification wrapper:
◆  How do you want to hatch your bot?
│  ● Hatch in Terminal (recommended)
│  ○ Open the Web UI
OpenClaw will now immediately spin up inside your shell and stream test prompts down your ngrok tunnel to ensure your local M4 chip handles the agentic and tool-based workflows flawlessly.